
Glogster for education.

I think this education version might cost money. The free version already offers a number of options, so I'm not sure you'd actually need the education version. I haven't looked into it much.

Once you create a free account with your e-mail, this is what your dashboard will look like. From the dashboard, you are able to update your status, post a new glog, check your glog's stats, and view other glogs. To create a new glog, simply click the "post new glog" button next to your profile picture.

Each time you create a glog, you are given a template. You can go in and delete it all, or just change the items. To change the graphics and videos on the template, double click on them.

Around the outer edge of the graphic, there will be boxes of editing options. Just start clicking on them and playing around with them to check out all the options. It's pretty simple!

Once you finish editing your text and graphics, simply click on the outside of the object and it will take you to the original screen. You can then click on the various options--text, graphics, images, wall, audio, or video--to edit your glog. There are many pre-loaded options, and you can also upload your own images, audio, and video.

On this practice glog, I changed the glog wall. I also inserted a heart graphic. To change the color, I double clicked on it and chose the eyedropper option.

You can also link other websites to your glog! The link option is below the eyedropper option. Simply click on it and enter the website url. When someone views your glog, they are able to click the heart and link to the website you provided.

Next, it was time to add a video! Once on the home screen, you can click the video option to add a video. You can add a video you already have saved on your computer or you can search Google for a video. The video above was added from Google. On the same screen you choose the video on, you can pick a frame for the video. There are lots of pre-made options available.

Adding a picture is similar to adding a video. You are able to add your own saved pictures, search Glogster's gallery, or search Google for images. There are lots of pre-loaded graphics available.

And...don't forget to add a frame to your picture!
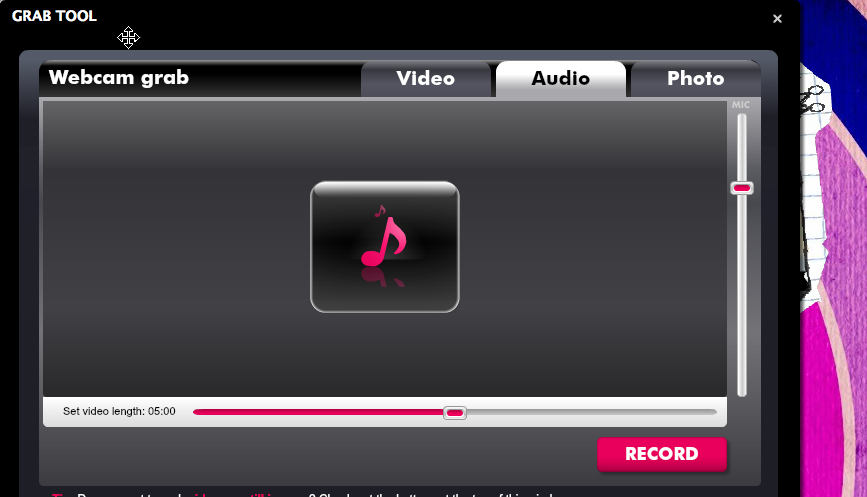
Another way to add videos, photos, or audio is the grab tool. You have to have a webcam to use this tool. The grab tool allows you to take a picture, record audio, or record a video and add it to your glog.

You are also able to add music to your glog. You can upload your own music or search for pre-loaded sounds. There are also player graphics available to add. You are also able to choose whether your song automatically starts when someone goes to your page or if they have to click the play button on the player.
When you're finished creating your glog, click the save and share button at the top of your page. (I believe it's hot pink.) It gives you options to share it on Facebook and Twitter. This site is an awesome tool to use for projects and with the creative kids in your class. It gives students an opportunity to mix creativity and learning. The possibilities are endless!

Go to www.glogster.com to create your own Glogster account and begin "glogging."
Happy Glogging!

No comments:
Post a Comment